Showing posts with label Project. Show all posts

Thursday, 27 June 2013

Project - Elderflower Cordial

Having made elderflower cordial a year or two ago, and found the results too sweet and a little bland I researched a few recipes and ideas and went for:
The Elder tree starting to blossom

30 elderflower heads
1.5 Litres of water
1kg Sugar
50g citric acid
2 lemons
1 large oranges
2 limes

1. I picked the whitest flower heads I could find, avoiding un-opened flowers or ones covered in bugs.
2. Boil the water in a kettle and pour into a large saucepan or bowl.
3. Stir in the sugar until it is dissolved
While the water is cooling
Trimmed and washed elderflower heads
4. Trim off the thicker stalks to leave more flowers than greenery.
5. Rise the flower heads in cold water
6. Zest or grate the skin of the orange, lemons and lime
7. Chop the orange, lemons and limes into quarters
The water should have cooled to a warm temperature by now
8. Add the elderflower heads, fruit zest and quarters, citric acid and stir gentle
9. Cover the saucepan or bowl and leave for 24 to 48 hours
10. Strain the liquid using muslin and keep refrigerated.

The concoction left to infuse for 36 hours
The batch I made was a similar concentration to regular cordial, and tastes much nicer with ice cold water. I still found it a little sweet so I'll try with less sugar in my next batch.
Finished and bottled

Wednesday, 12 December 2012

Cellar Project - Shoe Shelves


before
Part of the cellar, in fact the most popular use of the cellar is the 5 shelves used for all our shoes. it's just inside the door, so we open the door dump our shoes and leave. with all the mess, dust and clearing it was a good idea to move all the shoes out he way to stop the kids, cats and dog going into the demolition site.


emptied
Once I had clear the the shelves I soon spotted the rendering / plaster behind the shelves was coming away and there are a few holes, showing the brickwork behind. Great! Another wall to take back to the brick work and repaint.


from below
The cleared shelves did make carrying rubble sacks and all the junk down in the cellar a much easier job. Also avoided the risk of trashing all the shoes too.


just a few more to take down
Taking the shelves and wooden support batons down wasn't too much of an issue, other that the layers and layers of paint over the screw heads and the occasional bracket that need to be hacksawed off when i rounded off the screw heads.
taking the plaster down


Once the shelves were down it was a quick and fun job to get the paint scrapper behind the plaster and prize it off in great chucks. this patch was removed in roughly 3 minutes.


and a few ideas ripped from the web for replacing the boring shelves:


Thursday, 29 November 2012

Cellar Project - Stripping the paint

The paint was coming off very easily with just a wire brush and wallpaper stripper so I invested in some heavy duty paint stripper. This stuff was like wallpaper paste and didn't smell too bad, but the instructions were designed to put the fear of God in you, so I wore goggles, gloves and hat.

I applied the paste very thickly as per the instructions and then had to wait 2 days to let it work its magic.

Well after a few days of working on the paint, i went to work on scraping the walls. the paint kind of came away, but was still a real pain. plaster and rendering is still  proving a problem to remove. Looks like i'll be getting a man in to shot blast it.

Monday, 26 November 2012

Cellar Project - Ceiling removal

So the project is under way and as I'm scraping and brushing the old paint off I notice that the dry board ceiling in part of the cellar is bowing downwards. So I firmly give it a little push to see how stable it is. The answer is not at all, and my hand goes through the dry board.

Great another job on the list is now to replace the ceiling in this part of the cellar. the parts of the ceiling where it is dry board comes off easily, even though some of the nails that were used to keep it up, have rotted and the claw hammer simply ripped the flat heads off the nails, which gave my half an hour of fun with a pair of pliers.

This was the easy part!

The hard part was the ceiling that was made of ply wood. 10mm ply wood nailed on every 15cm across the beams. these were impossible to pull out even when I hung my entire body weight off the ply wood sheet. So how do i get the sheets down?


Well it was the black Friday week and i had purchased a Dremel trio, router / cutter / sander combination power tool. With the cutting tool installed and set to a depth of exactly 10mm I cut around each and every nail that held the ply wood boards in place.


This meant that I could pull the ply wood sheets down leaving only a small circle of wood around each nail. which i can now attack with a claw hammer and pry bar to remove.

Wednesday, 21 November 2012

Bar Ideas

make a low table from pallets.
make bar from pallets.
make shelves from pallets.

possibly make tool rack / wall from pallets

bottle top magents (glue small magnet into a bottle top)

enbed speakers into the celling panels
embed led (christmas lights in to dry wall ceeling panels
mount plug sockets on walls at ceiling hight - access via hidden ceeling panel

Friday, 16 November 2012

Project Loft Conversion

This is the biggest project I've undertaken in the house. the project is to put floor boards down in the loft, add some lighting and more insulation. This is so we can have more storage space and possible play area for the boys and me.

I good friend of mine did the electrics, adding 4 double plug sockets and some cheap spot lights.

i've put down 95% of the boards now, and only have the real fiddly ones to finish off, next stage will be to carpet the floor and put some dry boards up, between the rafters.

Project Medal Display

This project involves taking a plank i found whilst working on project Loft Conversion, and trying to surface mount the medals on the wood.
The plank is pretty gnarly but with a bit of effort if should look pretty cool and very manly.
The medals are all from various obstacle course races I've competed over the last couple of years.

Here is the plank prior to any work (apart from removing a couple of rusty screws)


The cleaned up plank

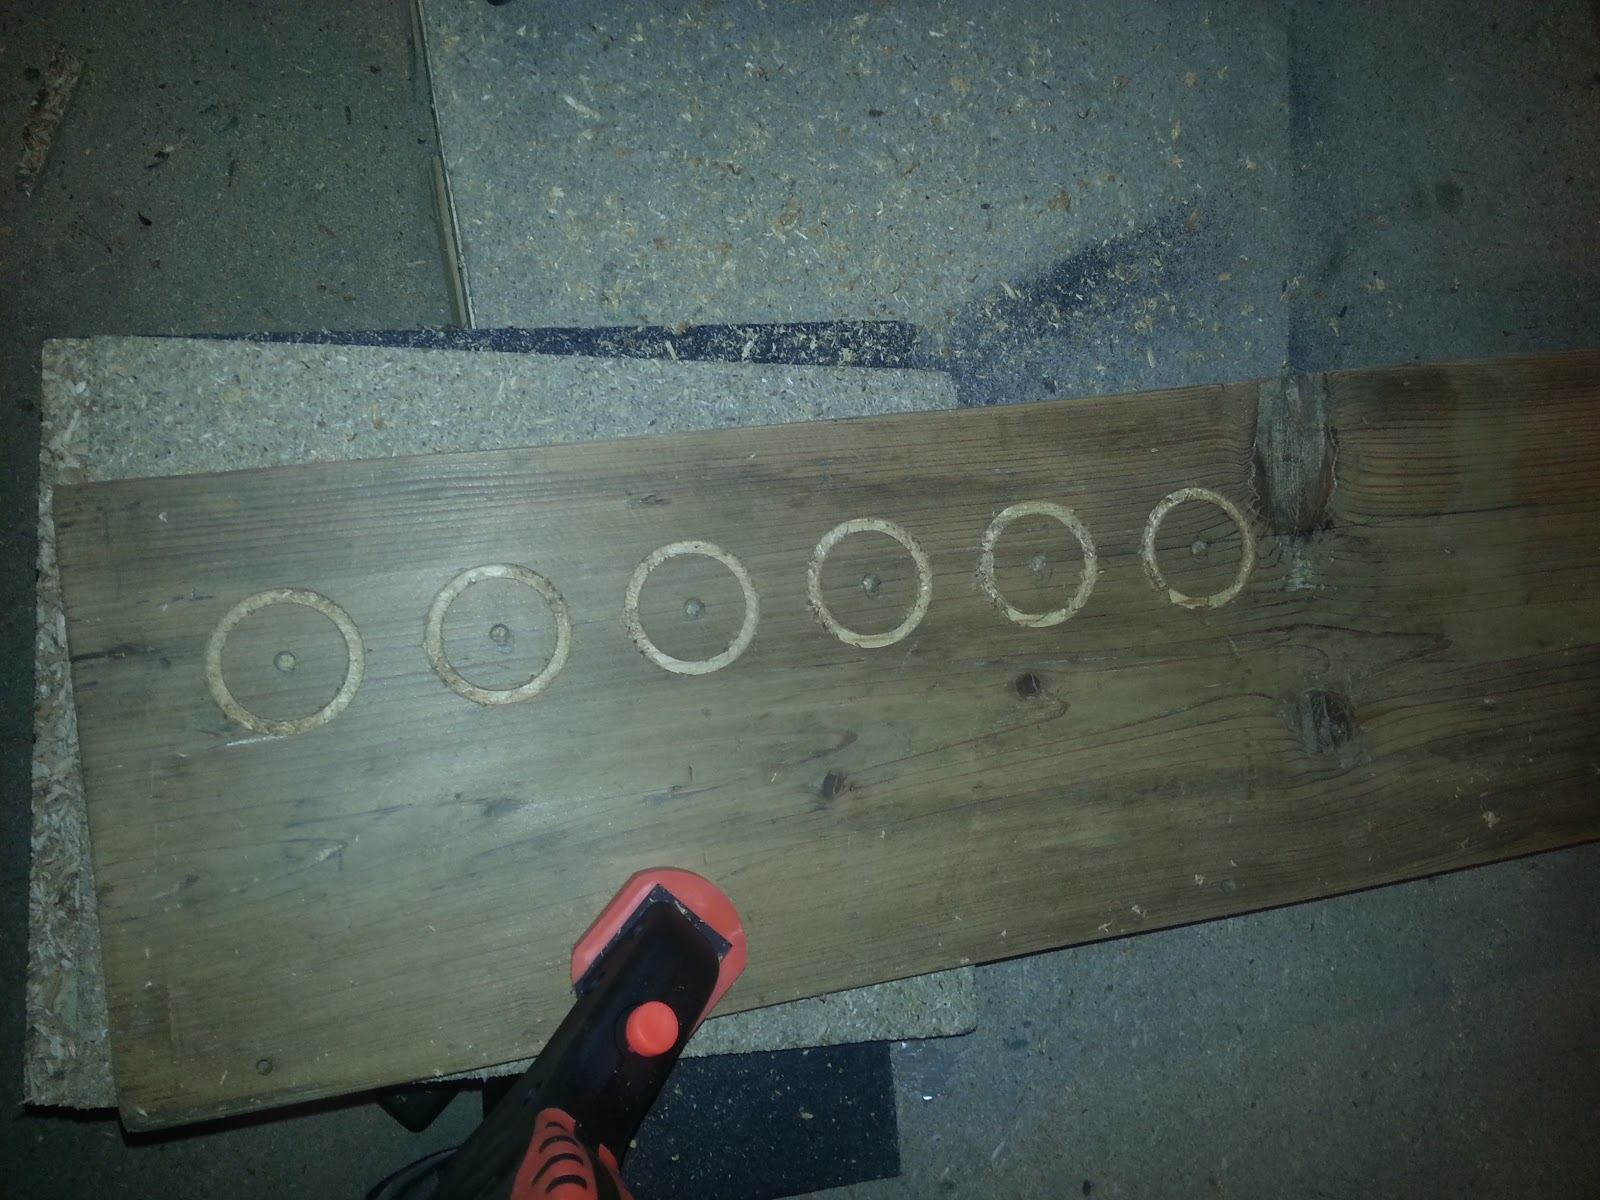
Thought I would test the funky drill bit on some scrap wood first
Which worked very well
The drill bit did the job next step is to chisel out the rest of the depression